TAB’s Blackbook feature allows you to save and follow your favourite thoroughbred, greyhound, and harness runners, and your favourite jockeys, harness drivers, and trainers.
For your Blackbook entries, you can choose when and how you’re notified/reminded about your entries’ upcoming races. For example, you can choose to be notified/reminded by:
- Email on the day before and/or day of the race
- SMS on the day before and/or day of the race
- Pushlert on the day before and/or day of the race, or
- All or none of the above.
If you have multiple TAB accounts, you will have one Blackbook per account (i.e., your Blackbooks will not be linked).
On this page, you’ll find information on:
- Accessing your Blackbook on the TAB app.
- Making a Blackbook entry on the TAB app.
- Removing a Blackbook entry on the TAB app.
- Sorting your Blackbook entries on the TAB app.
- Managing your Blackbook notifications on the TAB app.
Accessing your Blackbook on the TAB app
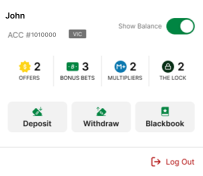
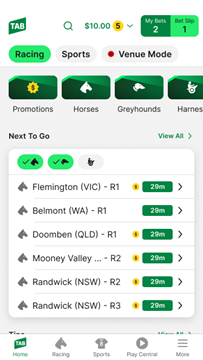
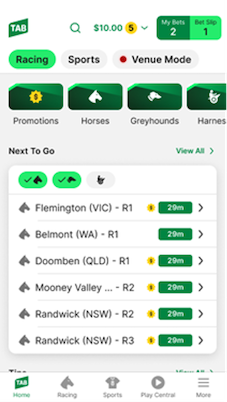
After logging into your account on the TAB app, you can access your Blackbook from the header at the top of your screen or the ‘More’ menu.
To access your Blackbook from the header at the top of your screen:
- Tap the header.

2. Then, tap ‘Blackbook’.
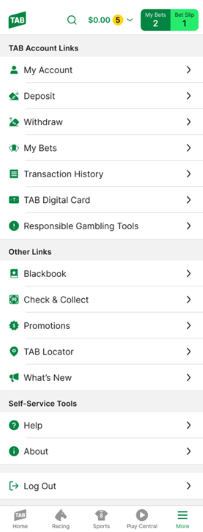
To access Blackbook from the ‘More’ menu:
To access Blackbook from the ‘More’ menu:
- Tap the ‘More’ button in the bottom-right corner of your screen.
2. Then, tap ‘Blackbook’.
Making a Blackbook entry on the TAB app
You can make a Blackbook entry from within your Blackbook or directly from a race or placings card.
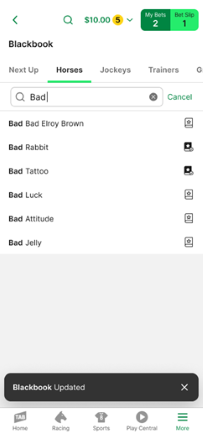
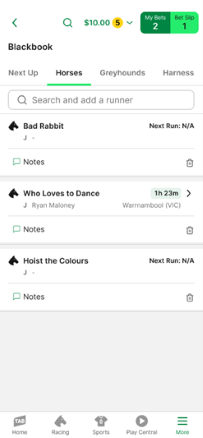
To make a Blackbook entry from within your Blackbook:
- Tap on the type of entry you’d like to make (e.g., horse, jockey, trainer, etc.).
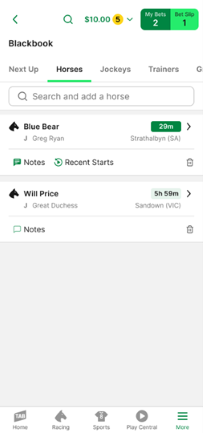
2. Use the search function to look-up the name of the relevant thoroughbred, jockey, trainer, greyhound, harness runner, or harness driver. Then tap the ‘Blackbook’ icon next to search results to add them to your Blackbook.
To make a Blackbook entry from a race card:
- Tap on the relevant runner to reveal the runner comments.
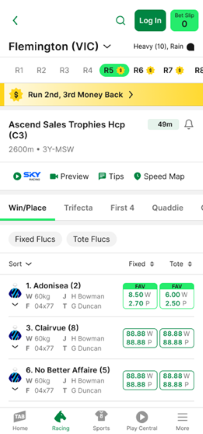
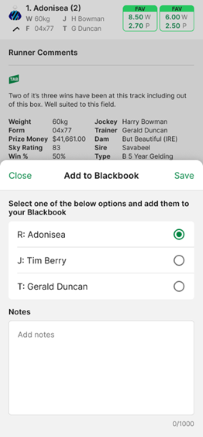
2. Tap the ‘Blackbook’ button.

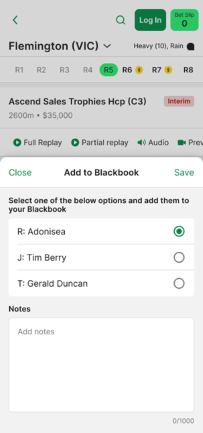
3. Then, make your selection from the options shown, enter any notes you’d like to include regarding your selection and tap ‘Save’.
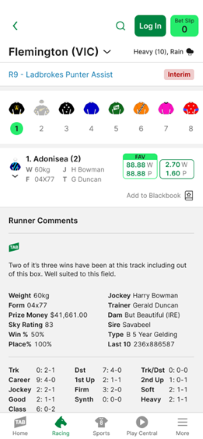
Tip! You can also add an entry from the long form. Tap on the ‘Long Form’ button for the runner. Then, tap ‘Add to Blackbook’, make your selection from the options shown, enter any notes you’d like to include regarding your selection, and tap ‘Save’.
To make a Blackbook entry from a placings card:
- Tap the ‘Add to Blackbook’ option under the relevant runner.
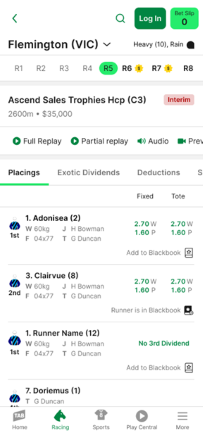
2. Then, select the one of the options relevant to the runner and tap ‘Save’.
Removing a Blackbook entry on the TAB app
You can remove a Blackbook entry from within your Blackbook or directly from a race or place card.
To remove an entry from within your Blackbook:
Tap on the relevant category (e.g., horses, greyhounds, harness, etc.) and tap the bin icon next to the entry you’d like to remove.
If you have a runner (or entry relevant to a runner) in your Blackbook, the Blackbook icon will appear under the runner on the race or place card. To remove the runner (or entry relevant to the runner) from your Blackbook:
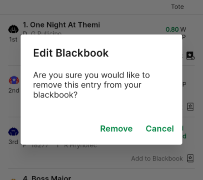
Please note:Here, we show an example of removing a Blackbook entry from a place card. The steps for removing a Blackbook entry from a race card are the same.
- Tap the Blackbook icon.
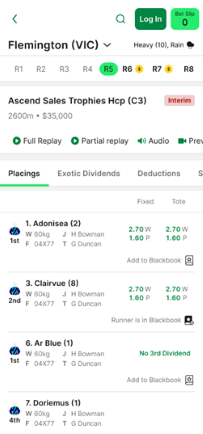
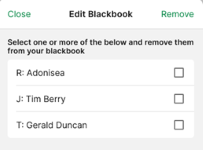
2. Then:
In the case that you only have a single entry relevant to the runner in your Blackbook, tap ‘Remove’.
In the case that you have multiple entries relevant to the runner in your Blackbook, select the entries you’d like to remove and tap ‘Remove’.
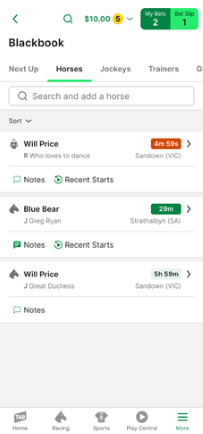
Sorting your Blackbook entries on the TAB app
Within your Blackbook, you can sort entries by ‘next up’ or alphabetically.
To sort entries:
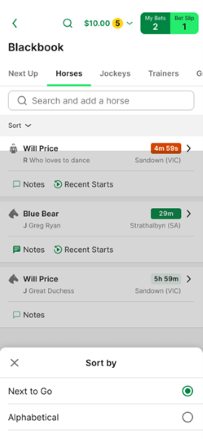
- Tap the ‘Sort’ option under the search bar/above your first entry.
2. Then, select how you’d like to sort your entries.
Managing your Blackbook notifications on the TAB app
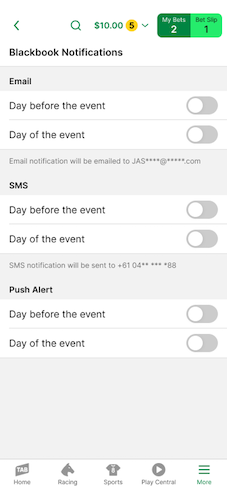
Within the TAB app, you can choose when and how you’re notified/reminded about your entries’ upcoming races. For example, you can choose to be notified/reminded by:
- Email on the day before and/or day of the race
- SMS on the day before and/or day of the race
- Push alert on the day before and/or day of the race, or
- All or none of the above.
To manage your notifications:
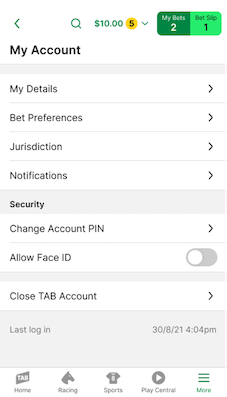
- Tap on the ‘More’ menu in the bottom-right corner of your screen.
2. Tap ‘My Account’.

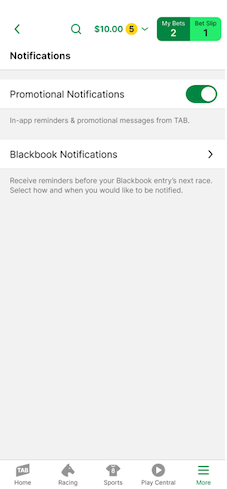
3. Tap ‘Notifications’.
4. Tap ‘Blackbook Notifications’.
5. Slide toggles to the left or right depending on whether you want to turn notifications on or off. Notifications are on when toggles appear green.
Please note:If you’ve previously opted-out of email or SMS notifications (e.g., by clicking on an ‘unsubscribe’ link in an email or by texting STOP to the relevant number), you’ll need to contact our Customer Service Team on 131 802 to opt back in.
Can't find what you're looking for?
Contact Us
If you need assistance, you can use our Email us form to log your enquiry or send us feedback. Complete the short form and we'll respond as soon as we can.
Customer Service
If you can’t find what you need, call us on 131 802 and have your account number and PIN ready.
Want to place a bet by phone? See phone betting options.